My Account

Rockers are good for both indoors and outdoors. Imagine this: you’ve found the perfect indoor wooden rocker. It has the perfect arc, comfort factor, and rock to it. However, you want it to set up home outside your house in your garden. What are you going to do? The truth is, indoor furniture can’t be used outside. It will quickly wither if not properly treated.
Luckily, there are three foolproof ways that you can weatherproof your wooden rocking chair to transform it into an outdoor-friendly piece of patio furniture. We’ll walk you through three ways to weatherproof your rocking chair and teach you why you have to take that important step.
Why Weatherproofing Wood is Important

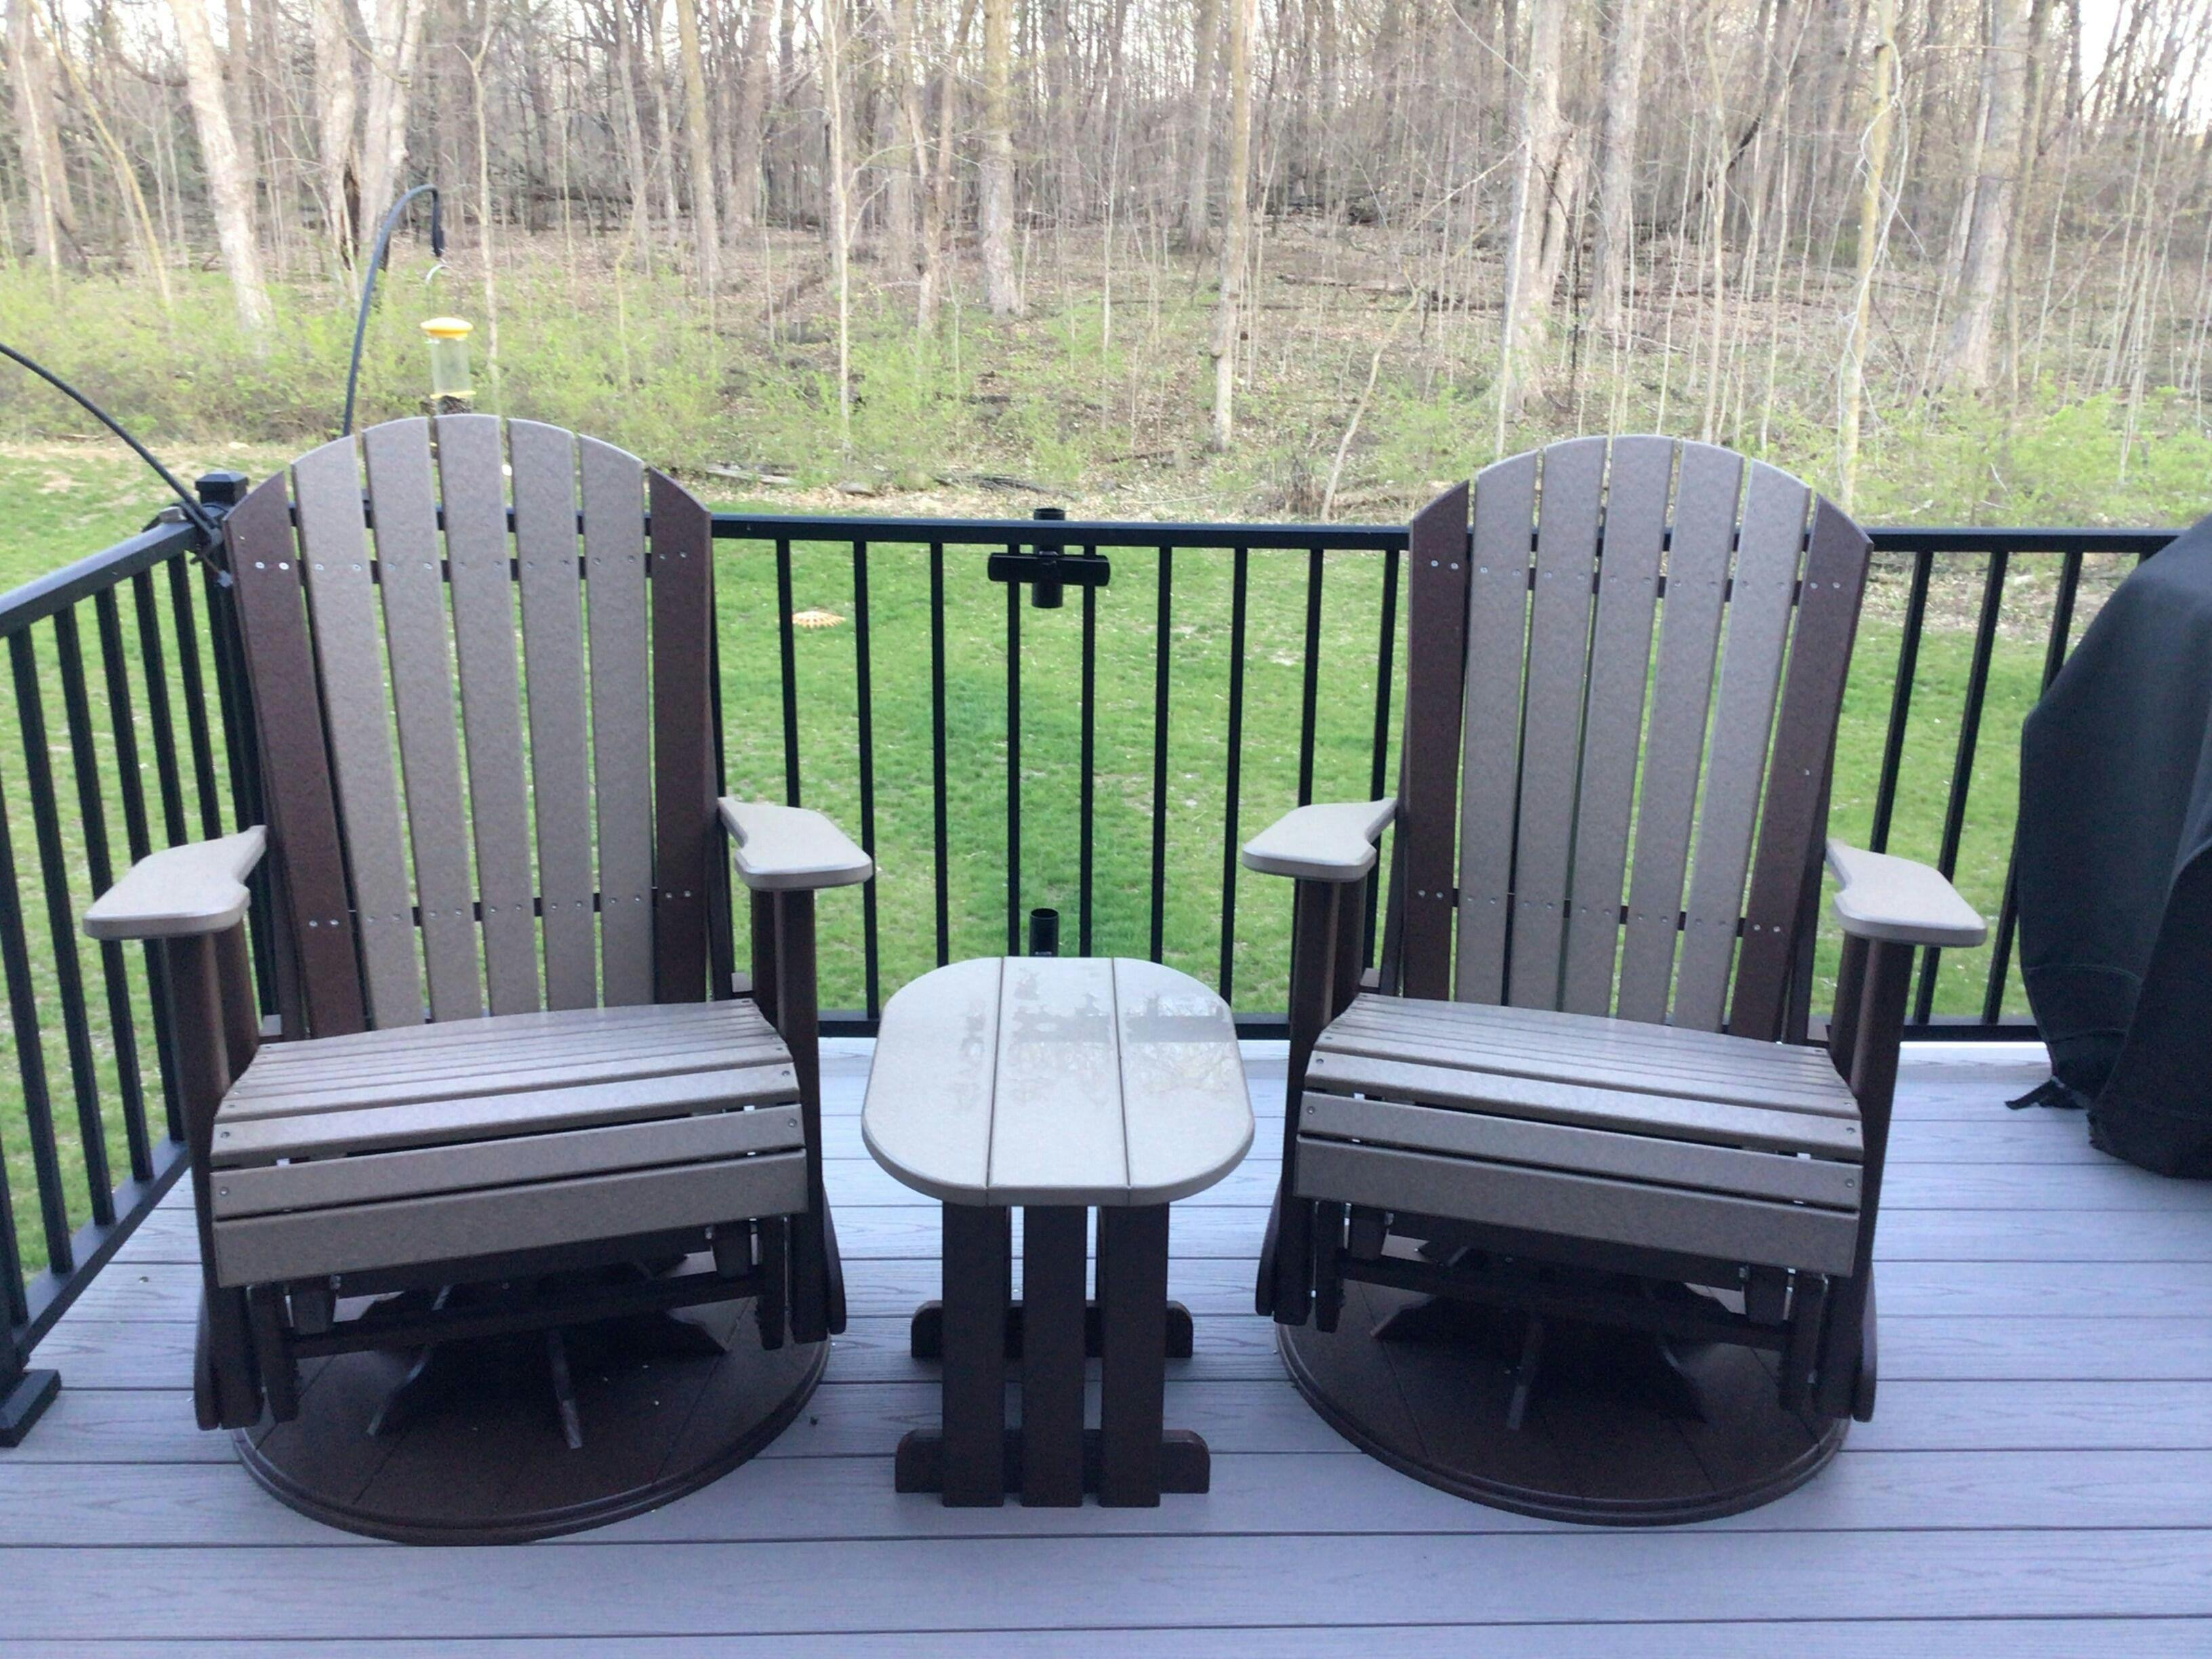
Learn more about Moon Valley Rustic Rockers
Rocking chairs have become all of the rages lately. They are functional, stylish, and host a variety of health benefits. Initially invented in the 1700s, these special chairs have yet to lose their popularity. They are often found in nurseries, porches, living rooms, and patios. Due to their versatility and comfort, there’s no doubt that homes all over America love wooden rocking chairs.
More Cedar rockers here
Wood is undoubtedly one of the most loved materials used for furniture. It's popular for its natural hue, grain, and unique patterns. You can choose from dozens of types of wood furniture. Consider mahogany, walnut, oak, or other gorgeous, charming wood options. It’s natural and highly valued. However, there’s one downfall. It’s prone to damage from the elements. In particular, water and sunlight.
Effects of Elements on Furniture

Learn more about A&L Furniture Classic Porch Rocker
In fact, water and sunlight have such severe effects on untreated wood that they will completely warp the natural beauty and integrity of the wood. When initially exposed to humidity and moisture, the wood can become crooked and begin to bend. Over time, the wood will begin to rot and may grow mildew. Furthermore, sunrays will begin to bleach the natural, beautiful hue of the wood that was so loved at the time of purchase.
Not only do these effects look aged and cheap, but they result in a loss of integrity and a structurally unsound piece of furniture. The inside of the rocking chair will begin to weaken, minimizing its lifespan and making your chair unable to withstand other conditions. Once mildew forms, it quickly takes over. Mildew is a form of fungus, similar to mold, and it can result in health issues such as headache, sore throat, and coughing.
Treating Your Furniture

Thankfully, all of these unfortunate issues can be avoided by properly treating your furniture. By taking the necessary steps and preparing your wooden rocking chair for the outdoors, it can withstand humid or moist conditions.
More Pine Rockers here
Sealants, oils, and lacquers will create an impermeable layer between the atmosphere and the chair. This will conserve the furniture and prevent it from absorbing moisture. The layer you add to the chair will also ensure that any pests and insects cannot burrow into the wood.
Depending on the type of wood and the final product you desire, one of these waterproofing techniques will work best.
How to Waterproof Wood Furniture
We are covering three main ways for you to waterproof your wood rocker:
- Seal the chair with polyurethane
- Seal with varnish
- Seal with lacquer
- Apply oil such as linseed or Tung oil
- Complete with a mixture of stain and sealant
Depending on the type of wood you have, the amount of maintenance you’ll commit to, and the final product you desire, one of these options might work best for you.
Seal with Polyurethane
Polyurethane is an oil or water-based wood finish that contains a plastic resin that forms a hard barrier when applied to a wood surface. It is a relatively thick and milky consistency, though it’ll be clear when dry. It often requires only a few layers for the full effect. Choose from different effects from high gloss to a soft sheen.
Polyurethane is especially good for light-toned woods, and it is easy to clean with soap and water. It can be applied with a foam roller, spray, or brush. Between each coat of polyurethane, sand down the existing coat to ensure a smooth, even finish.
For those considering an easy-to-apply and low-maintenance option, polyurethane is a good direction to go in.
Seal with Varnish
Varnish is a mixture of solvent, drying oil, and resin. It results in a hard, durable shell that resists scratches. It can protect against sun and water for rocking outdoor furniture, and its water damage properties make it a high contender on this list.
The finish of varnish is both glossy and thin with a slight yellow tint. It is less toxic than other polyurethane and is unlikely to break. Due to its incredible durability, the varnish is an excellent choice for softwood.
To apply varnish, apply numerous layers. The solution is very thin, so it’ll require several layers. Sand between each layer to ensure that the following layer sits flat and properly. When applied improperly, varnish can become easily damaged and won’t protect your outdoor furniture as long as it should.
Seal with Lacquer
Lacquer is another excellent option for those looking to seal a rocking chair. This finish, which is a mixture of dissolved tree resin, is most often the best choice for wood furniture. For darker woods, such as mahogany and walnut, the lacquer will bring out a beautiful, warm hue. This finish is hard and scratch-resistant and will keep your wood in great shape for years to come.
Lacquer is extremely thin and will begin drying as it is applied, which means it is a quick project if you want to use your rocking chair as soon as possible.
To use, apply, sand, and spray another coat evenly. It’s a user-friendly product that will offer great protection to your favorite rocker. If you choose to brush it on, brush marks will be virtually invisible and it will lay flat. Lacquer makes for a quick cleanup.
Make sure to ventilate properly when using this product due to strong fumes.
Apply an Oil
If you want to stray away from synthetic options such as lacquer, varnish, and polyurethane, and you opt for a more natural option, you’ll likely consider applying an oil. Many kinds of wood have a high oil content, making them good for outdoor use. For example, teak has a high oil content, which naturally repels water, insects, and decay. Applying oil has a similar effect.
Most commonly, linseed oil and Tung oil are used for wood furniture. Linseed oil, also known as flaxseed oil, is a colorless oil from the flax plant. It works as a preservative for wood. Tung oil is extracted from the tung tree and has a deep, wet look. Both oils present a similar result when applied to your wood furniture. Not only does oil offer a beautiful, hand-rubbed finish, but it's one of the easiest applications that you can do. Originally commonly used on darker woods such as mahogany, oils have since been applied to several different kinds of wood for their waterproofing benefits.
To minimize stickiness, shorten drying time, and alter the color of the oil, you can create a mixture. We recommend:
- 1 part oil
- 1 part mineral spirit
- 1 part polyurethane
To apply:
1. Stir
Stir your oil mixture thoroughly to ensure that your custom formula is properly mixed and ready for application. If you want a thicker product, you can include fewer mineral spirits.
2. Apply
Begin to apply the oil mixture with a natural bristle paintbrush or an oil rag. Depending on the final look you want and the thickness of the mixture you’ve created, you’ll want to use a different application method. Be careful when using oily rags, as they can spontaneously combust.
To be safe, have a bucket of water on hand in case anything doesn’t go as planned. Apply in thin layers.
3. Let soak
You’ll want to let the oil soak into the wood. If you’ve missed any spots, it’ll become apparent as the oil begins to dry. Reply where necessary. Give the oil time to dry slightly before going back in.
4. Wipe
With a clean rag, wipe off residual oil. Remove any excess oil or drips of oil during this step. Again, be mindful of anything heating up to avoid spontaneous combustion. Keep your bucket of water close during this step.
5. Dry completely
Let the wood sit overnight to dry. Some projects may only take a few hours depending on the formula you created; However, some may take overnight. The longer you wait, the better.
6. Sand
The next day, you can head back to your project! Choose fine-grit sandpaper and lightly sand your wooden rocking chair. Make sure to get into all of the nooks and crannies for an even sanding of the chair.
7. Repeat
Repeat the process! Depending on your final result and the color of wood that your chair is, you’ll need a certain amount of coats. Make sure to carefully sand between every coat. This is an essential step to make sure that the next layer of the oil adheres to the last.
Complete with a Mixture of Stain and Sealant

Last, but not least, you can apply a stain-sealant combination to your rocker to finish it off. This is perfect if you’re short on time or don’t consider yourself much of a DIY expert. When applying a stain-sealant combination, you’re adding color to the chair while also sealing it from weather conditions.
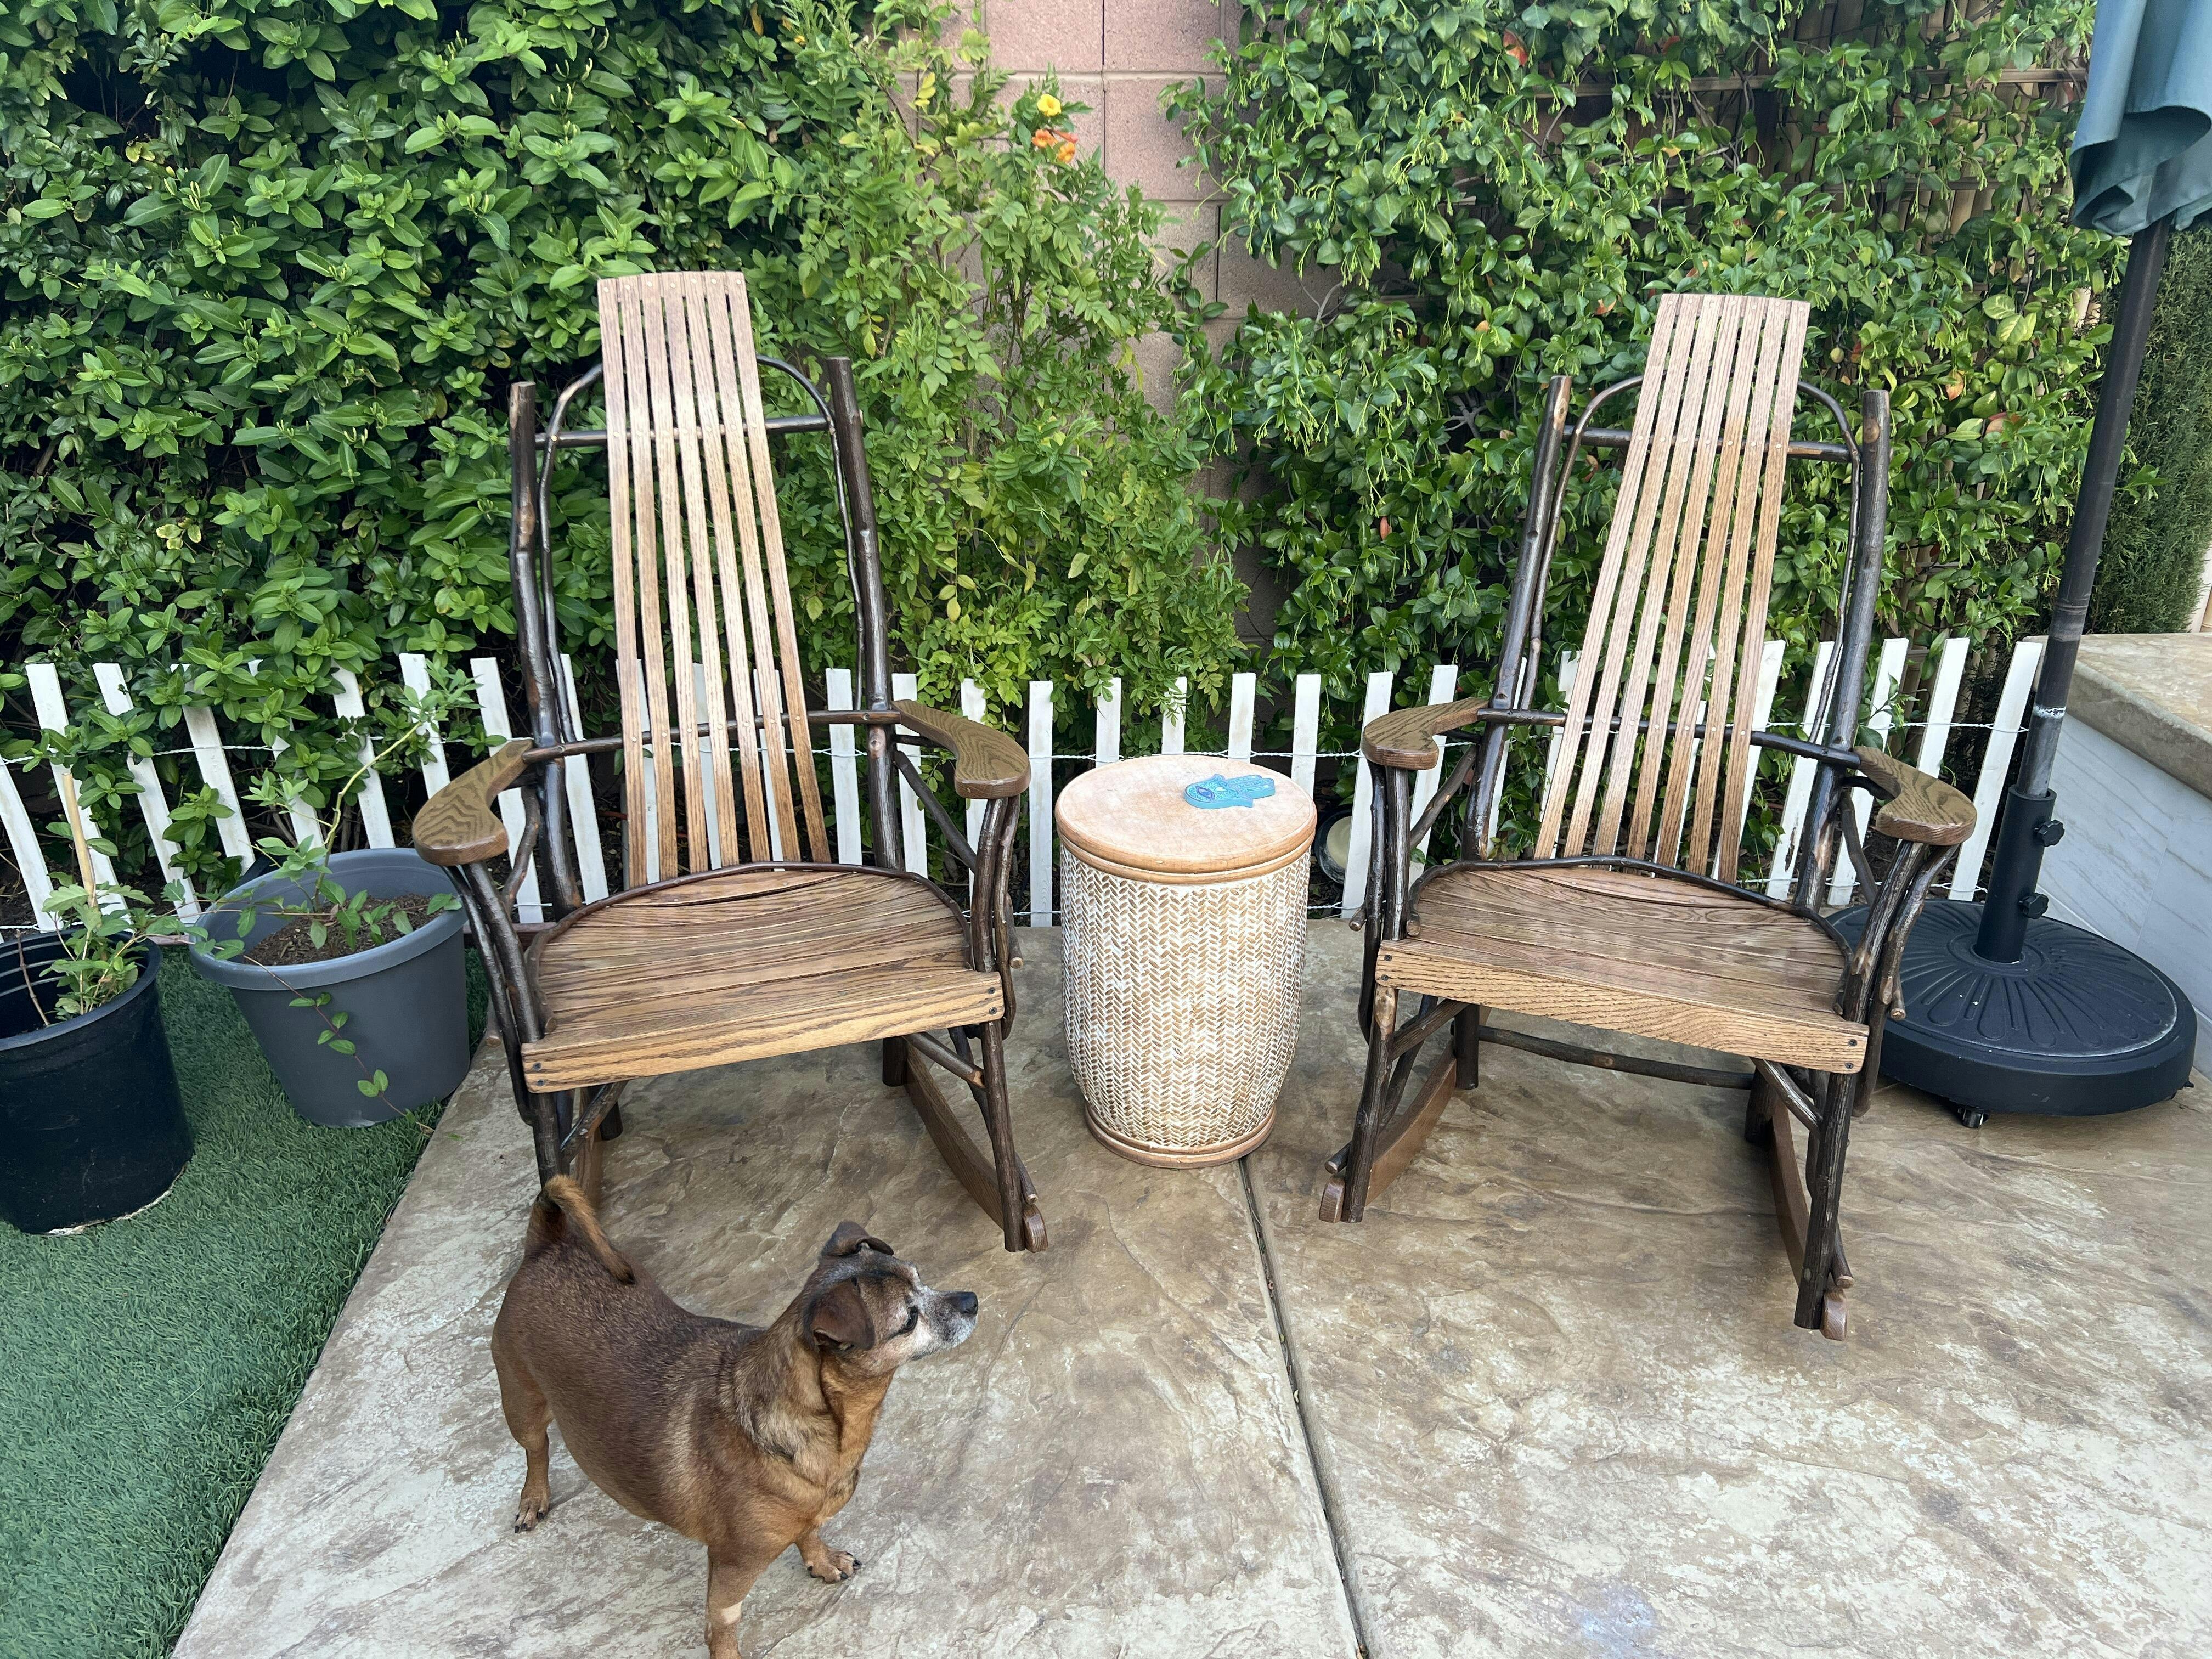
Amish Hickory Rockers here
Choosing Stain
Choose between different pigment concentrations to make the stain transparent, opaque, or translucent. This lets you be creative with how you want your rocking chair to look in the end. If you like the grain of natural wood, choose a transparent stain. However, if you want a statement piece, consider an opaque stain. With a stain-sealant option, you’ll need to reapply every 1-2 years to keep your wood in optimal shape and protect it from all of the weather elements.
The binder in the sealant will be oil, water, or alkyd-based. Both oil and water-based binders will soak into the wood, where alkyd-based binders will leave a coating on the wood. We recommend choosing an oil-based binder for outdoor use. An oil-based stain will repel water and reduce mold growth as well as prevent warping and cracking. They can take up to 12-hours to dry and emit toxic fumes.
How to apply:
- Sand the wood thoroughly
- Wipe and vacuum the wood to ensure that all sanding particles are cleaned away
- Wet the wood with a slightly damp paintbrush
- Apply the stain to the surface (We recommend using a lint-free rag)
- Wipe excess stain away with clean rag
- Let dry for an hour
- Apply another coat if necessary
A stain-sealant combination is an easy way to transform your rocking chair into a new furniture piece while protecting it for the outdoors! Choose from dozens of different, rich colors that make a statement.
How to Waterproof Cushions

After weatherproofing the wood of your rocker, you’ll want to weatherproof your cushions as well. If your cushions aren’t waterproof, they can quickly become moldy or build up mildew. Luckily, some water seal products make fabric waterproof, fade-resistant, and stain-resistant.
You can use it on your cushions or your throw pillows. To use:
- Spray on completely dry cushions and spray generously
- Allow drying before spraying another coat
- Water should bead off of them when the product is working at maximum capacity
Make sure to follow these steps periodically to make sure that everything is in good shape. Taking the extra steps to ensure your cushions stay in good shape will pay off over time.
Conclusion
It’s not always feasible to buy a new piece of furniture when you have one that you love. If you have a wooden rocking chair that you want to transition to the outdoors, you can follow our different ways to weatherproof your furniture.
It’s important to not use indoor furniture outdoors unless the proper steps have been taken to ensure that it’s weatherproofed. After all, outdoor furniture has been specifically made to withstand the elements.
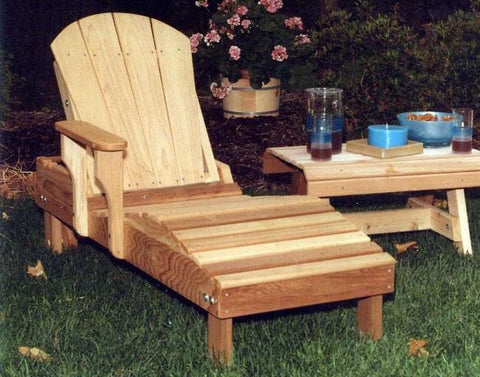
Types of adirondack chairs to choose: