There are few things more gratifying than repurposing items that you already own. Let's face it: furniture is expensive. By flipping them into new pieces that fit your space, you save money. Not to mention, it's better on our landfills.
This staple piece is also an excellent addition to a kid's playroom or a nursery. Spend your time reading on it or feeding your newborn. We have good news, though! You don't need to buy a new rocking chair to have one. Find an old chair that you love and transform it into stylish and functional kids rocking chair.
Learn tips and tricks to transition your regular chair into a rocking chair that your kids will love.
Why Rocking Chairs Are Popular

More about classic porch rocking chair
Rocking chairs are all the rage right now, and for a good reason. Not only do they look stylish in your home, but they are on-trend. Find chairs as staple pieces on home renovating shows and in popular magazines. You can even style them in a variety of different ways.
Rocking chairs also have several health benefits that make them popular:
- They increase blood flow
- They send oxygen to the joins
- They build up strength in your knees
- They help ease arthritis symptoms
- They help heal back pain
- They release endorphins, making you happier
- They provide a feeling of calm
Transforming Your Chair Into A Functional Rocking Chair

In order to transition your chair into a rocking chair, you’ll need different materials and tools to get the job done.
Materials
Pick up the following materials:
- An existing armchair in good condition
- Pine board for the base
- Hardboard panel
- Screws
- Wood glue
- Polycrylic protective finish
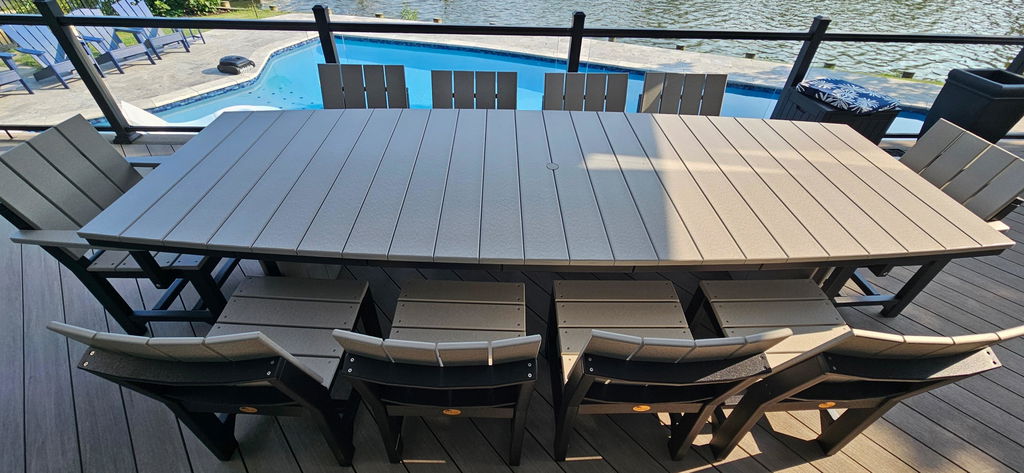
Take a look at Wildridge outdoor children's Adirondack chair
Tools
You can rent these tools at your regular hardware store if you don’t have them on hand. To complete this project, you’ll need:
- Vacuum
- Upholstery cleaner
- Drill
- Measuring tape
- Miter saw
- Clamps
- Jigsaw
- Pencil
Step 1: Clean

The first step of your transformation is thoroughly cleaning your existing furniture. You'll want a clean, 'like new' chair to sit on, especially if children play on it. Though this is a tedious task, it'll add to the finished product of your new chair.
To do this:
- Purchase an upholstery cleaner and a bucket. If you have a handheld steam cleaner available, that will cut down the time needed to clean the furniture adequately.
- Use a toothbrush or small brush to get into the nooks and crannies of the chair.
- Be meticulous during this process and let it dry thoroughly before continuing with the transformation.
Step 2: Take off existing legs

More about this Moon Valley Rustic Set
Before taking off the legs, you’ll want to test the rocking radius of the chair. Add temporary rockers onto the existing legs and use the following formula to create the radius:
- Seat height x Pi (3.14) = Rocking radius
After testing your rocker, you might find that your seat is too high or low. You’ll need this information for the new base.
Step 3: Build new legs

Using the miter saw, you'll want to create new 2" by 2" legs. This will be enough surface area to hold the chair's weight while still making a good addition for the rockers.
To create the base that the legs attach to, you'll use a rectangular shape made of 1" by 3" pine boards. Following this, you'll want to drill holes to connect the base to the legs. You can use wood glue to secure the pieces better. Continue to attach all of the elements to create the finished product of the legs.
Step 4: Build rockers

More cedar rockers
Begin by measuring out the size of your required rockers. This may be done with a scrap piece of wood. Use the chair's base and trace around the legs to create a template to move forward with.
The rockers will be built out of 1" by 6" pine boards. Use the template to trace the wood pieces. A jigsaw will cut out each rocker.
Use screws to secure the rockers to the base you created previously.
Step 5: Finish
Now you can stain, paint, or apply a polyacrylic protective finish. This will give your rockers their final look.
Step 6: Connect legs to the chair

Pocket holes will be drilled in the base, so you can easily connect the chair to your new legs securely. Take your screws and connect them! Voila.
Step 7: Style
After you’ve completed building your new rocking chair, it’s time to style. Styling a rocking chair is the fun part! It adds visual interest to your new piece of furniture and makes it a perfect fit for any room. Whether you’re using your rocking chair in a nursery or kids’ room, style it appropriately to become the statement piece.
Some tips we have for styling include:
- Add throw pillows. Using pillows with fun patterns or designs can make a huge difference in any room. Pull-on the finishes from your paint and other pieces to make a cohesive, comfortable look.
- Place by a basket for throw blankets. Get comfortable reading a book with a plush and cozy throw blanket. Get a large wicker basket for storage and place it neatly beside the rocking chair.
- Use a faux or real plant for visual interest. There’s nothing like a little greenery in your home! Place a faux or real plant by your rocking chair for a touch of foliage in your new favorite room.
- Add a stuffed animal. For children's rooms and nurseries, bring childhood fun to the forefront by adding a stuffed animal as decor. Not only does this look great, but your children will have something new to play with.
Conclusion
There you have it, an easy-to-follow tutorial for your kids rocking chair. By gathering up a few materials and tools, you can transform an old chair into a functional and stylish rocking chair. Make sure to style it in a way that complements the room it’s in. We guarantee your new chair will be sturdy, comfortable, and provide a smooth rocking motion.
Quick look at - Tailwind Furniture plastic kids rocking chair